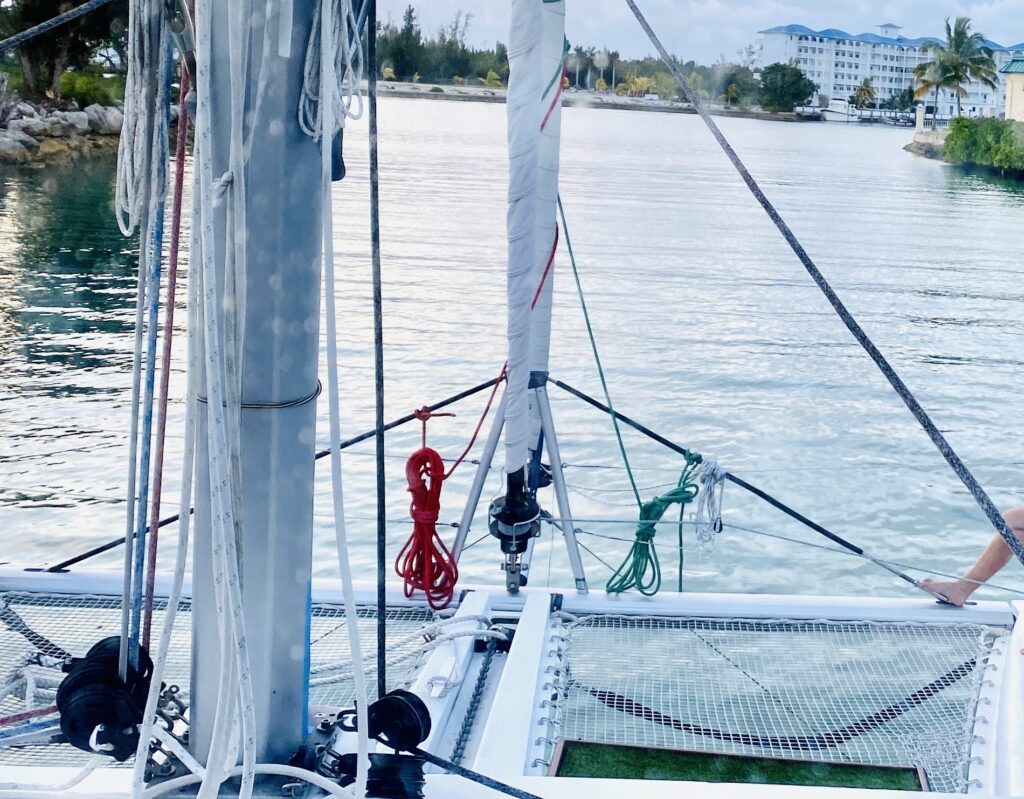
When we purchased the boat, the trampolines were in fair condition and definitely showing signs of wear and tear. After a season in The Bahamas, we realized that the patch jobs that were done on a couple of holes weren’t going to stand the test of time. It was time to get new trampolines.
Kory did quite a bit of research and was impressed with Multihull Nets, a division of Sunrise Yacht Products based in Florida. He contacted the owner, Matt, who helped Kory understand the fundamentals of trampolines and the variables we should consider when choosing replacements. Matt recommended we read through their Guide to Multihull Trampolines and Netting. This was extremely helpful, and Kory learned so much about trampolines that most people never know. He learned about the various functions of trampolines, platform stability and comfort, netting durability and longevity, designs, borders, lacings, maintenance, and more.
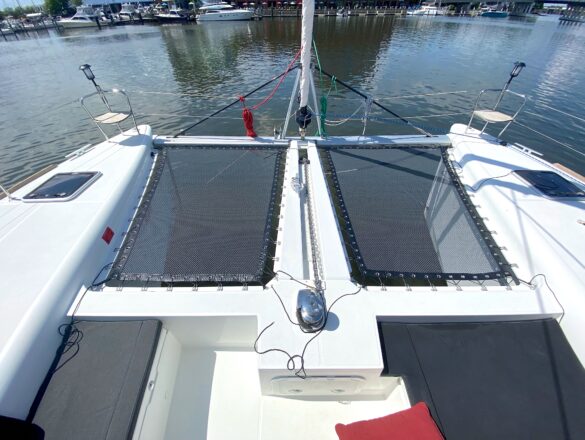
After weeks of research, counsel, and discussions, we chose a trampoline specifically designed for the Lagoon 450. Our final selection was the Offshore 3/8″ trampoline, coated Dusky Gray, with a black reinforced grommet border, and black Dyneema lacing lines. This is the best all-purpose offshore rated net this company offers. It is designed for high comfort and excellent durability at a reasonable price. It was cut to our size and coated with a UV protection in the color of our choice. It’s expected durability is 10-12+ years, and it is the only pet paw friendly offshore rated net.
Once we determined that this was the best net for us and our boat, we placed the order and had it delivered to Charleston. The delivery only took a couple of weeks because they had our particular net already in stock. It could take longer depending on the options one chooses, but their standard production turnaround is still pretty quick.
We picked up the trampoline in Charleston on our way back from The Bahamas, and then headed to Virginia with the trampoline in a bag, ready for the install. Kory was confident that we could install the trampoline ourselves. I was a bit apprehensive, thinking one of us was going to fall in the water trying to remove the old trampoline, but I became at ease once I watched the YouTube install video that Sunrise Yacht Products put together. It showed a step-by-step install of our exact trampoline on a Lagoon 450. We must have watched that video ten times before we were ready to begin. And you know what, it went smoothly and exactly as planned!
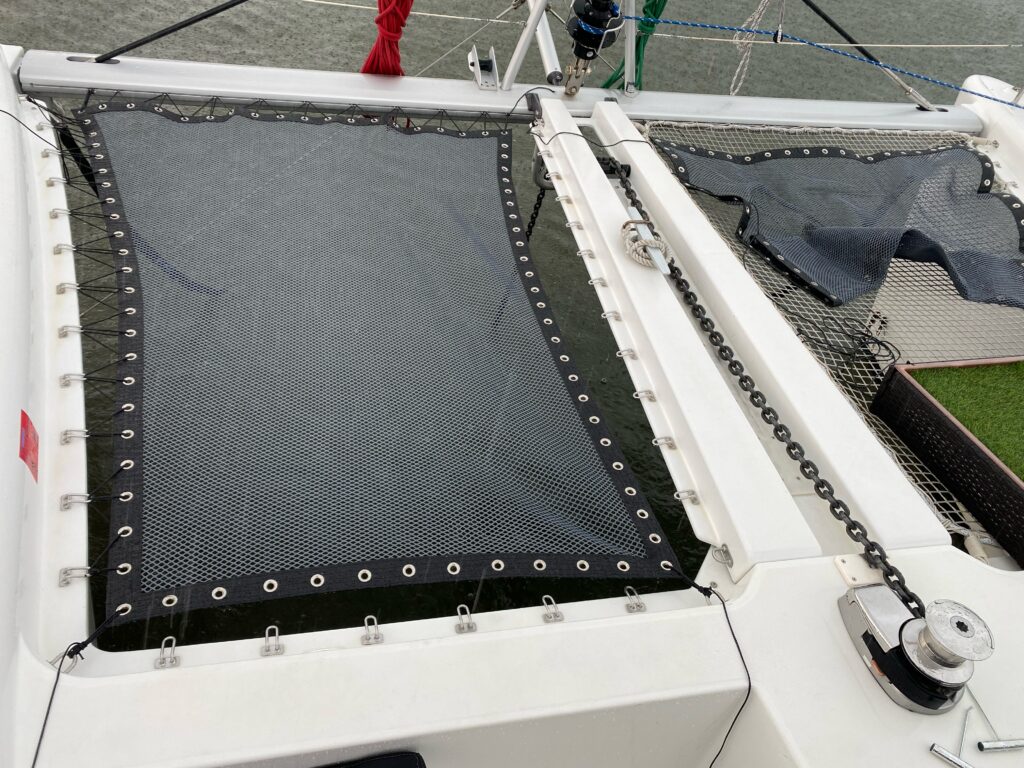
Cutting away the old trampoline lacing lines was pretty easy to do. We used sharp razor blades and cut away portions at a time while we worked on the new install simultaneously. It took a little while to figure out the lacing techniques for the new trampoline, but once we caught on, it went really fast. The hardest part of the whole install was tightening the lines. This has to be done several times in order to stretch the trampoline and make it tight. Thankfully, the kit came with lacing hooks to help with the process. Still, it was backbreaking work for Kory since he did the majority of that job. I did all of the cleanup work to try to thank him for his diligence.
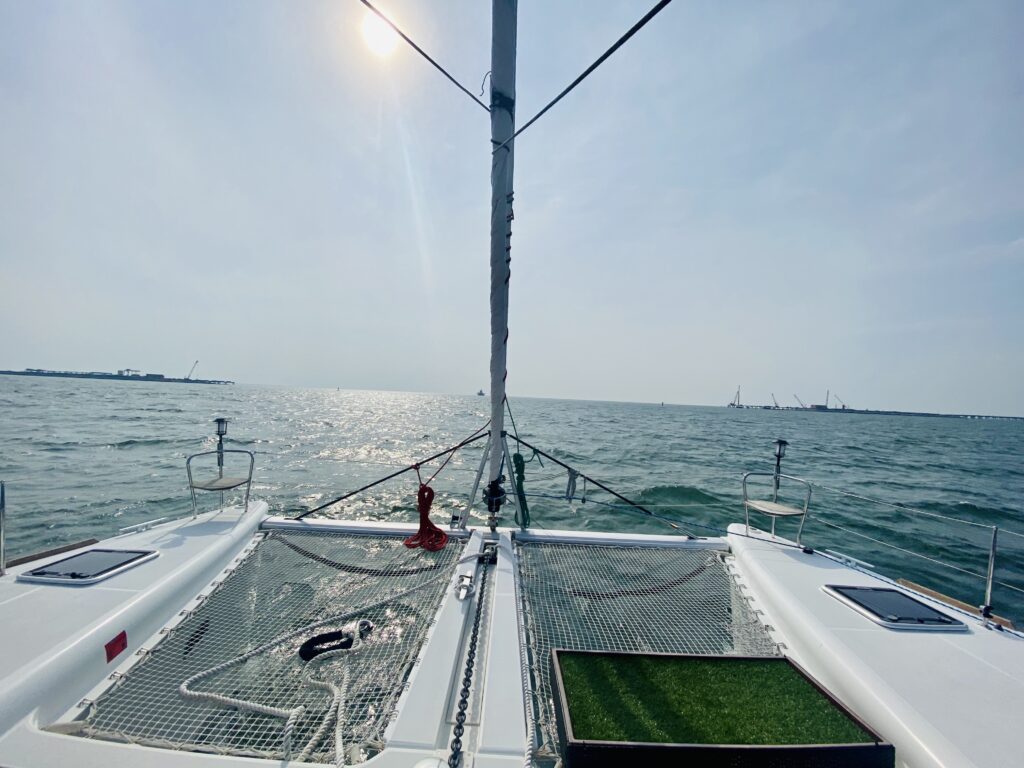
It took two days of hard work, in the heat of summer, but we got it done in less time than we thought it would take, and it looks fantastic! Here are some of the benefits of the new trampoline:
- It’s comfortable on our bare feet,
- The dark color makes for less glare and we can see the water easier,
- It’s a tighter weave so Gracie can walk on it without her little paws slipping through the holes, and,
- The netting and grommets are very durable.
We are very happy with the results! Let us know if you have any questions about our selection of trampolines, the install process, or anything else! Others have imparted so much information and wisdom to us; we’d like to do the same!
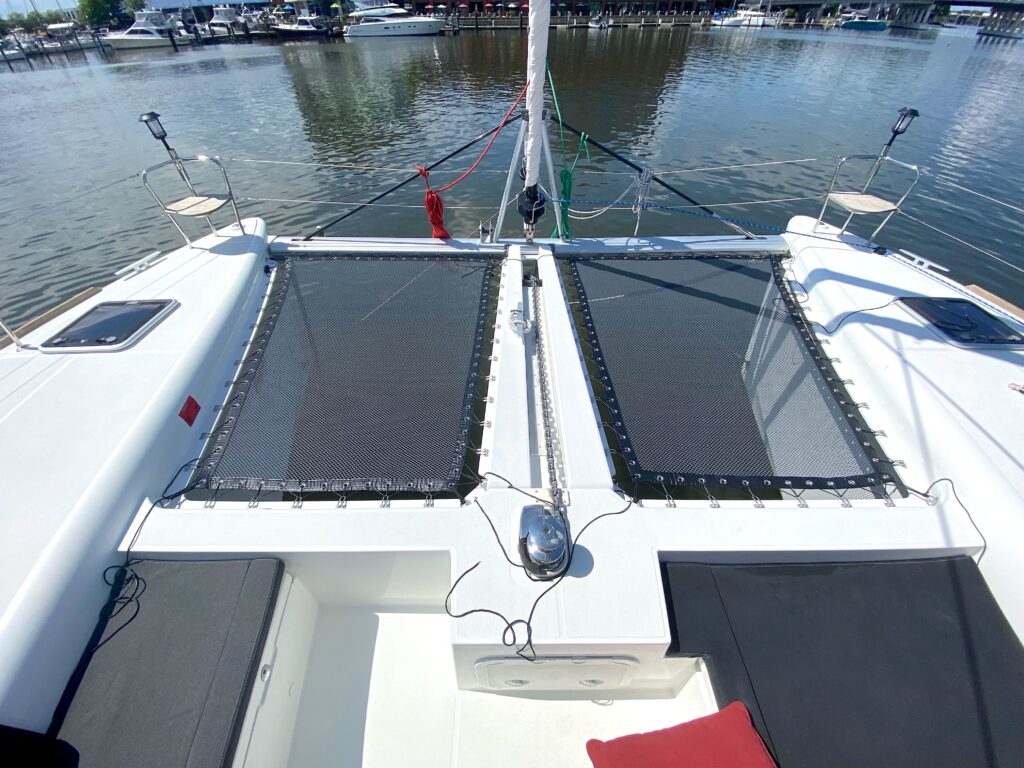
That installation looks professional!
That installation looks professional! Nice upgrade.